
Essential Guide to Setting Up Your Roku TV in New York City's Five Boroughs with Technico Services
- Sheldon M

- Sep 18, 2025
- 4 min read
Setting up your Roku TV is an exciting journey, especially in a vibrant city like New York. Each of the five boroughs—Manhattan, Brooklyn, Queens, The Bronx, and Staten Island—offers a unique backdrop for your entertainment experience. This guide will walk you through the essential steps to set up your Roku TV, tailored specifically for New York City residents. With Technico Services by your side, you will have a smooth setup process, letting you enjoy your favorite shows and movies in no time.
Understanding Roku TV
Roku TV is a smart platform that allows you to stream content from various channels and services with ease. With its straightforward interface and extensive channel library, it is no wonder many households choose Roku TV.
Setting up your Roku TV involves connecting it to your Wi-Fi network, creating a Roku account, and adding channels that fit your viewing preferences. According to statistics, Roku users access an average of 40 different channels per month, highlighting the platform's versatility.
Step 1: Unboxing Your Roku TV
Before jumping into the setup, unbox your Roku TV with care.
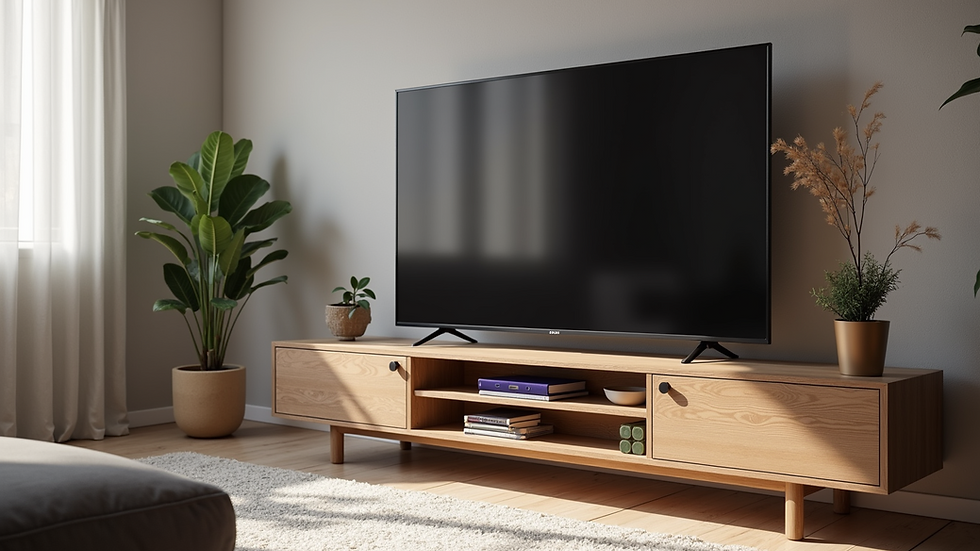
Find a Suitable Location: Pick a spot in your living room that is close to a power outlet and offers a clear view. For instance, in a Brooklyn brownstone, a corner setup can maximize space.
Remove Packaging: Take the TV out of the box, keeping all accessories, including the remote control and power cable.
Check for Damage: Look for any visible defects. If you notice anything wrong, contact the retailer immediately. Statistically, 5% of electronics purchased online can arrive damaged, so it's always good to check.
Step 2: Connecting Your Roku TV
After unboxing, it's time to connect your TV to power and the internet.
Power Connection: Plug the power cable into the TV and connect it to a wall outlet.
HDMI Connections: For any external devices—like a PlayStation or Apple TV—connect them with HDMI cables. On average, households have two to three streaming devices connected.
Wi-Fi Setup: Turn on the TV and follow the on-screen instructions to connect to your Wi-Fi network. Ensure you have your Wi-Fi password nearby to facilitate this process.
Step 3: Creating a Roku Account
To explore the full range of streaming options, you’ll need to create a Roku account.
Account Creation: You can create an account through the Roku website or mobile app by providing an email address and a password.
Linking Your Device: After creating your account, a code will appear on your TV screen. Enter this code on the Roku website to link your device.
Adding Payment Information: While many channels are free, adding payment details allows you to subscribe to premium channels, such as HBO Max, where 40% of users binge-watch multiple episodes in one sitting.
Step 4: Adding Channels
With your Roku account ready, it’s time to personalize your channel lineup.
Channel Store: Use your remote to navigate to the Roku Channel Store. You can browse various categories, including Movies, TV Shows, and News.
Search for Channels: Utilize the search feature to find specific channels such as Netflix, Hulu, or Disney+. Recent studies show Netflix has over 220 million subscribers globally.
Install Channels: Select a channel to add and click “Add Channel.” The channel will then be available on your home screen.

Step 5: Customizing Your Roku TV Settings
For an optimal viewing experience, customize your Roku TV settings.
Display Settings: Adjust picture quality and screen size to your liking. Features like HDR enhance color and contrast—important if you enjoy watching movies.
Audio Settings: If you have external speakers or a soundbar, tweak the audio settings to achieve the best sound experience.
Parental Controls: If you have kids at home, consider setting up parental controls to restrict access to certain types of content. Reports indicate that 70% of parents use some form of parental control on streaming platforms.
Step 6: Troubleshooting Common Issues
You may face some common issues during setup. Here are some useful tips:
Wi-Fi Connectivity Issues: If your Roku TV struggles to connect to Wi-Fi, check if your router is working properly. Restarting the router solves issues 85% of the time.
Channel Not Loading: If a channel fails to load, try removing and re-adding it. You can also check for software updates through the settings menu.
Remote Control Problems: If your remote stops responding, replace the batteries or re-pair it with your Roku TV.
Step 7: Enjoying Your Roku TV
Now that your Roku TV is ready, it’s time to enjoy your favorite content.
Explore Content: Spend some time exploring the vast range of channels and shows. You may find hidden gems that you didn’t know existed.
Create a Watchlist: Many channels let you create a watchlist, making it easy to track what you want to view next.
Stay Updated: Regularly check for new channels and updates, ensuring you maximize your Roku TV experience.
Wrap-Up
Setting up your Roku TV in New York City’s five boroughs can be straightforward with the right guidance. By following this guide, you can craft a personalized entertainment experience just for you.
Whether you’re in the lively streets of Manhattan or the calm neighborhoods of Staten Island, Technico Services is ready to assist with any technical issues. Embrace streaming and make the most of your Roku TV today!


Comments